Setting Up Continuous Integration (CI) With Globe CLI
 Majid HajianHead of Developer Relations & Community @Globe
Introduction
Continuous Integration (CI) is a crucial practice in modern development. It allows you to automate testing, building, and deploying your code changes, saving time and reducing errors. With Globe’s smooth CI capabilities, you can create your deployment process and ensure your project is always ready for users.
Globe CI Integration Methods
Globe offers two primary ways to establish a CI pipeline:
1. Simple CI with Globe’s Built-In GitHub Integration
This approach offers a blazing-fast setup for basic CI. Directly within your Globe dashboard, you can connect your GitHub account and select repositories. Globe will then automatically handle deployments whenever you push code to designated branches.
This approach is:
- Ideal for projects with straightforward deployment needs.
- Excellent when you’re new to Globe and want to experience CI quickly.
- Perfect for scenarios where in-depth testing or workflow customization is a low priority.
2. Advanced CI with Globe CLI
Combine the power of Globe’s command-line interface (CLI) with the flexibility of various CI providers and create a customizable CI pipeline. Implement testing suites, linting, build steps, and more with full control over your deployment flow.
You should:
- Choose this for projects with complex testing, quality assurance, or pre-deployment processes.
- Opt-in when you need to tailor the CI workflow precisely to your project’s requirements.
- Choose when you are using Jenkins, Travis CI, CircleCI, or others. Remember that you will need to create a configuration file (like
jenkinsfile,.travis.yml, or.circleci/config.yml) that defines the CI pipeline.
Let’s explore both options in-depth and see how they work.
General CI Integration Steps (with Globe CLI)
The Globe CLI becomes your gateway to controlling deployments within any CI environment. Let’s outline the core steps and dive into a concrete example with GitHub Actions.
- Install the Globe CLI
dart pub global activate globe_cli
- Login to Globe
globe login
After you run this command, you will be redirected to Globe website and after successfully you login, CLI will let you login.
- Authentication
globe token create --name="My CI Token" --expiry="yyyy-mm-dd" --project="utility-backend"
The command above generates an authentication token. There are custom arguments that you can use as follows:
-namespecifies a name to identify the token.-expiry- specifies the lifespan of the token.-project- specifies projects(s) to associate the token with.
Securely store this token in your CI provider’s environment variables or secrets manager.
- Integrate
globeCommands
Incorporate Globe CLI commands into your CI scripts or configuration. Here’s a simplified example of a possible build step:
globe login --token $GLOBE_TOKEN
Now that you have successfully logged in, you can deploy your application. Let’s take a look at an example with GitHub Actions.
Customizing CI with Globe CLI and GitHub Actions
Let’s create a GitHub Actions workflow to automatically deploy your project when changes are pushed to your main branch:
- Workflow Creation: In your repository, create
.github/workflows/globe-ci.yaml
name: Globe Deployment CI

on:
  push:
    branches: [main]

jobs:
  deploy:
    runs-on: ubuntu-latest
    steps:
      - uses: actions/checkout@v3

      # Install Dart
      - uses: dart-lang/setup-dart@v1

      # Install Globe CLI
      - run: dart pub global activate globe_cli

      # Login To Globe With Token
      - run: globe login --token ${{ secrets.GLOBE_TOKEN }}

      # Dart Linting
      - run: dart analyze

      # Dart Formatting
      - run: dart format .

      # Other checks

      # Deploy to Globe
      - run: globe deploy
- You can now create a token with CLI. It can be done once on your computer or in a trusted environment that you are logged into already.
globe token create --name="CI Token" --expiry="yyyy-mm-dd" --project="your-project-id"
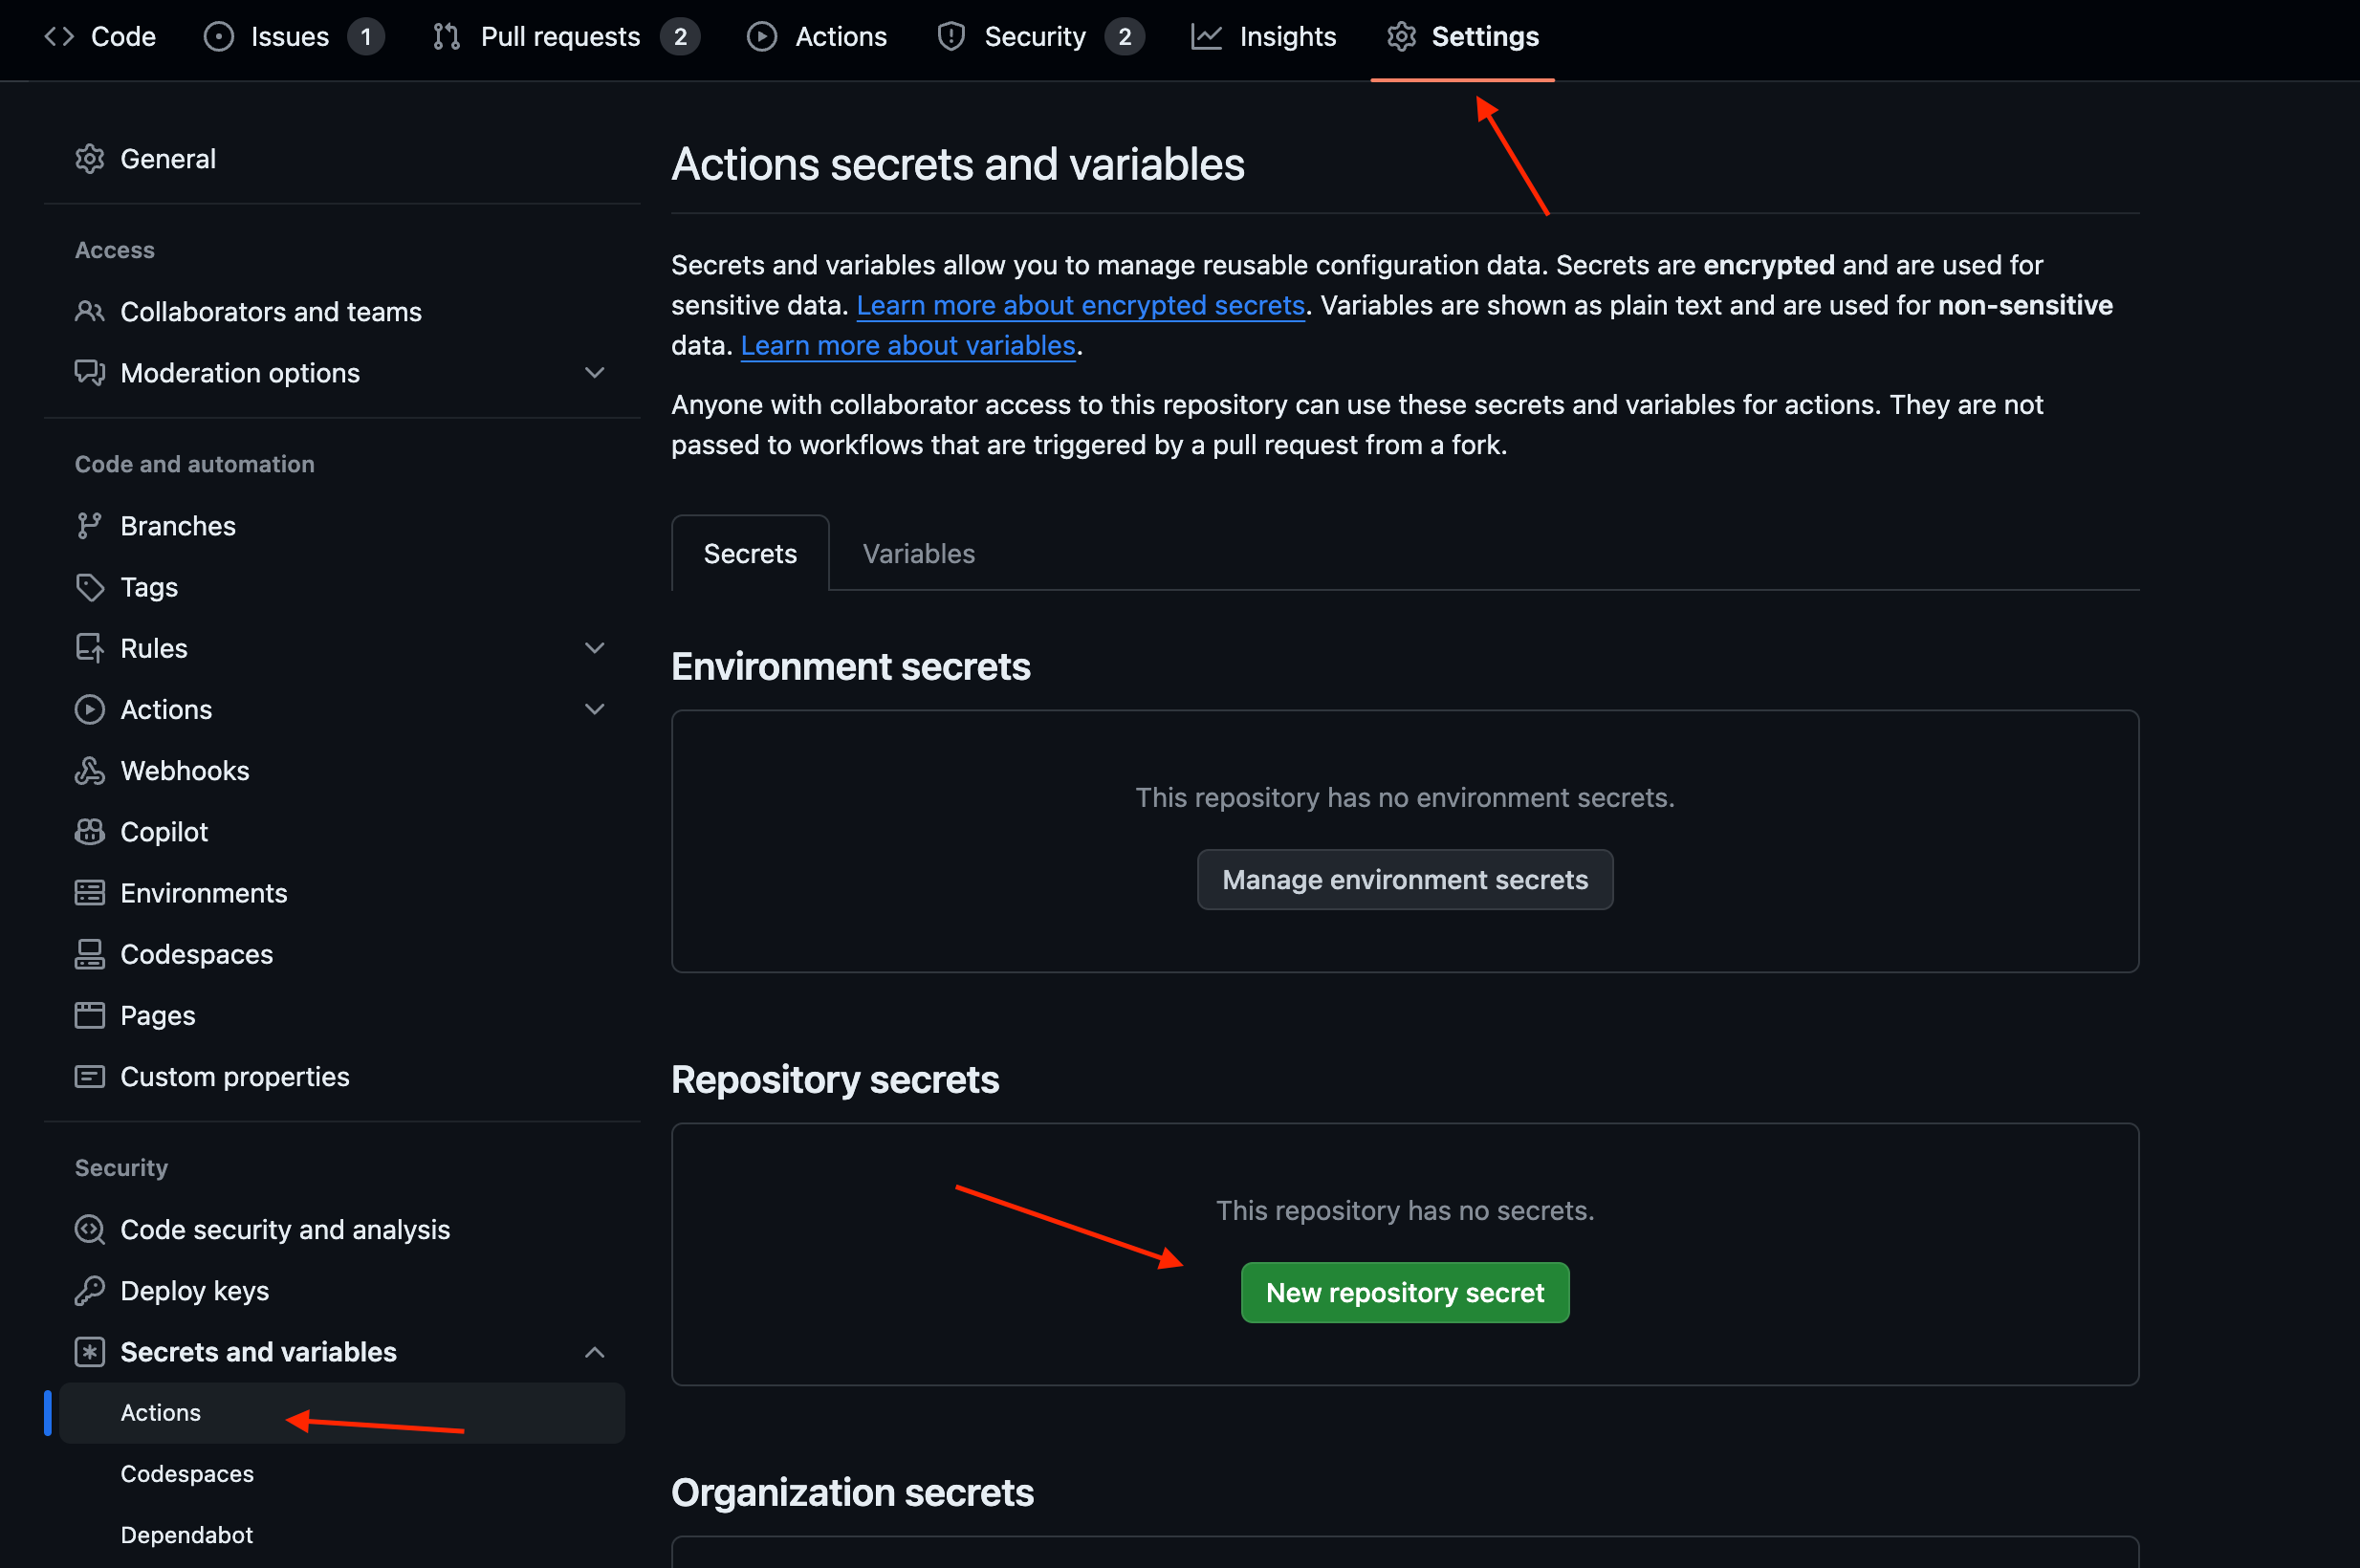
-
Go to your repository and add the token as an environment variable

That is it.
Your CI is ready to go. This process can be done in any other CI provider, too.
Globe’s Built-In GitHub Integration
-
Connect Your Accounts:
-
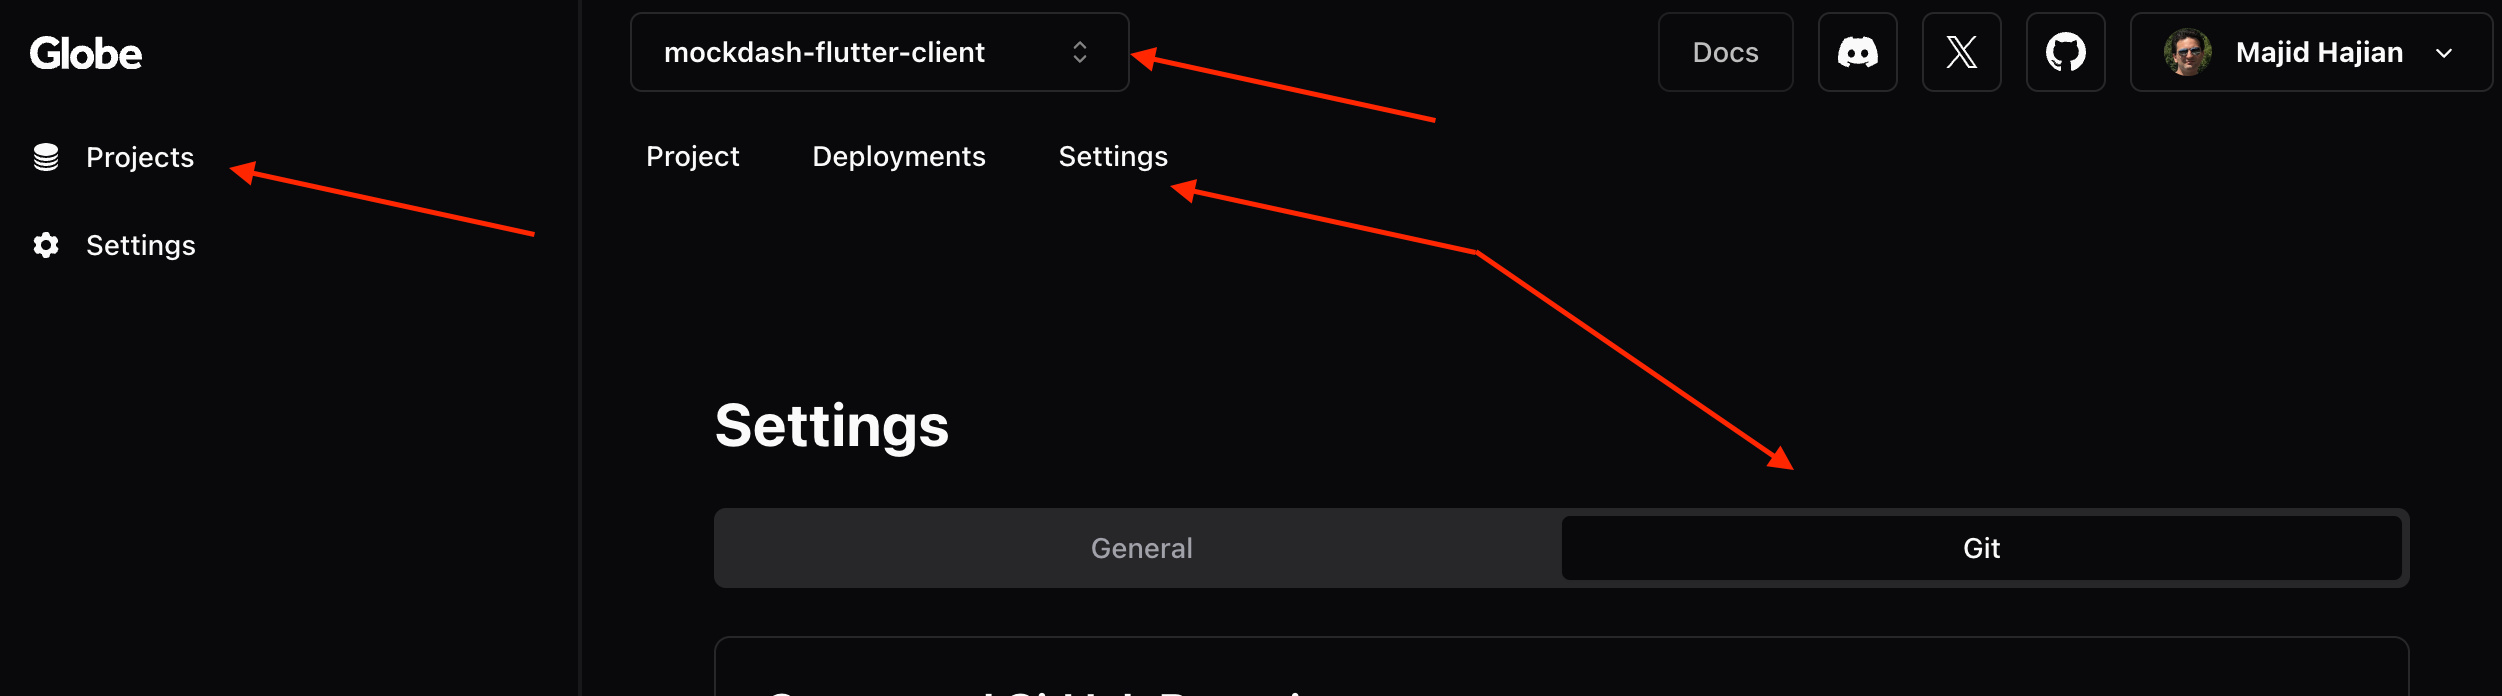
Log into your Globe dashboard.
-
Navigate to “Integrations” and select “GitHub.”
-
Follow the authorization process and select the repositories you want to integrate with.
-
-
Configure Branches: You can customize which branches trigger deployments (e.g., “main” for production, “develop” for staging).
-
Push and Deploy: push changes to your designated branches, and Globe will handle the deployment!

For more information, please visit our Github Integration documentation
Conclusion
Integrating the Globe CLI into your CI pipeline offers unparalleled flexibility in customizing your deployment workflows. Whether you prefer the simplicity of GitHub Actions or the granular control of other CI providers, the Globe CLI empowers you to tailor your deployments to your project’s needs. Combining CI automation with Globe’s robust deployment capabilities will streamline your development processes and ensure your applications are always ready to reach users.